Table of Contents
- Why Preventing Potholes in Heavy Traffic Lots Matters
- Step 1: Install and Maintain Parking Lot Drainage Solutions
- Step 2: Select Heavy-Duty Asphalt Pavement for Parking Lots
- Step 3: Perform Routine Pavement Inspections Using an Asphalt Pavement Inspection Checklist
- Step 4: Implement a Commercial Asphalt Maintenance Schedule
- Step 5: Apply Sealcoating and Crack Sealing Before Problems Develop
- Step 6: Manage Traffic Load and Compaction
- Step 7: Choose Quality Construction and Materials from the Start
- Protecting Your Investment
- Frequently Asked Questions
Last Updated: October 12, 2026
Why Preventing Potholes in Heavy Traffic Lots Matters
Preventing potholes in heavy traffic lots isn’t optional, it’s essential infrastructure maintenance.
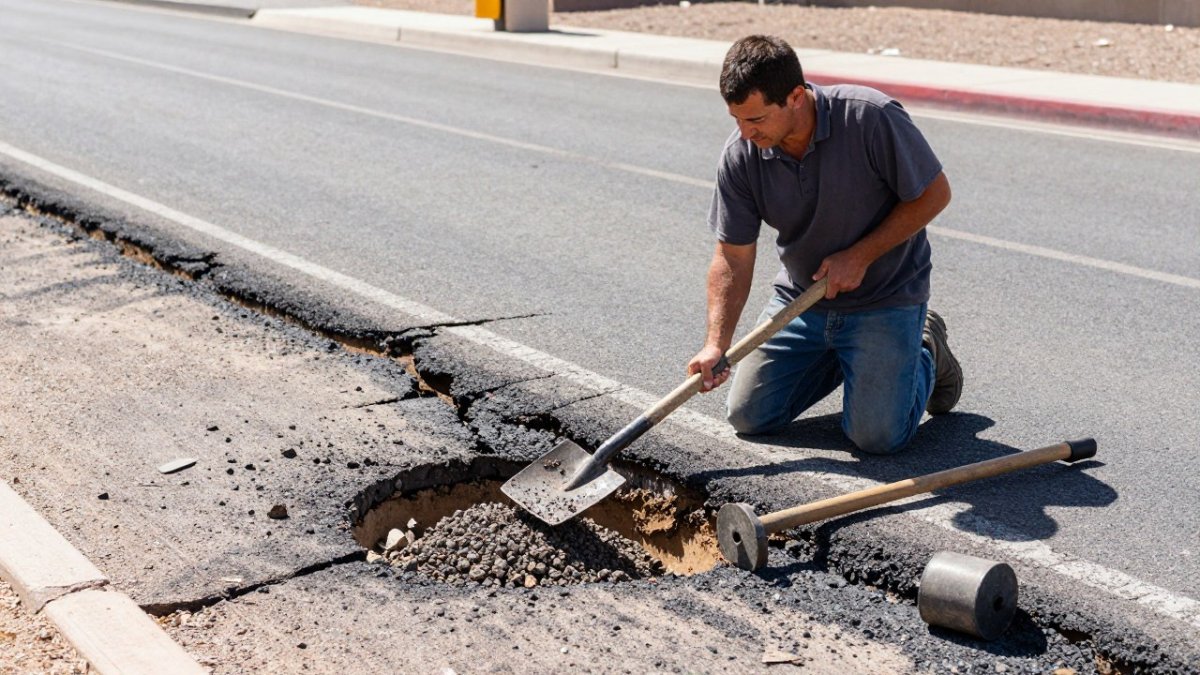
Potholes form when water infiltrates beneath the surface, weakening the sub-base and aggregate layers.
The real cost isn’t the pothole itself. It’s the cascade: one pothole becomes five. Rutting spreads across lanes.
The facilities that avoid catastrophic failure follow the same seven-step framework.
Heavy-traffic lots deteriorate 3-5 times faster than standard parking areas. A preventative approach costs significantly less than reactive repairs and keeps your operations running without disruption.
Step 1: Install and Maintain Parking Lot Drainage Solutions
Drainage is the foundation of everything else. Without it, all other maintenance efforts fail.
Water is the enemy of asphalt. When moisture infiltrates the pavement structure, it weakens the sub-base, causes freeze-thaw damage in cold months, and accelerates rutting under heavy loads. A single drainage failure can compromise an entire section of your lot.
How moisture infiltration causes structural damage
Moisture infiltration works like this: water seeps through cracks or porous surface areas and reaches the layers beneath. The aggregate loses compaction. The bitumen (the binding agent in asphalt) loses its grip. Under the weight of loaded trucks, the pavement flexes, cracks deepen, and potholes form.
In heavy-traffic areas, this happens fast. A drainage failure visible in month one becomes a pothole by month three.
Drainage inspection checklist
Check these items quarterly, especially before winter:
- Standing water in any parking area after rain
- Clogged or debris-filled storm drains
- Cracked or missing curb and gutter sections
If you find standing water, you have a drainage problem. Fix it before it destroys your asphalt.
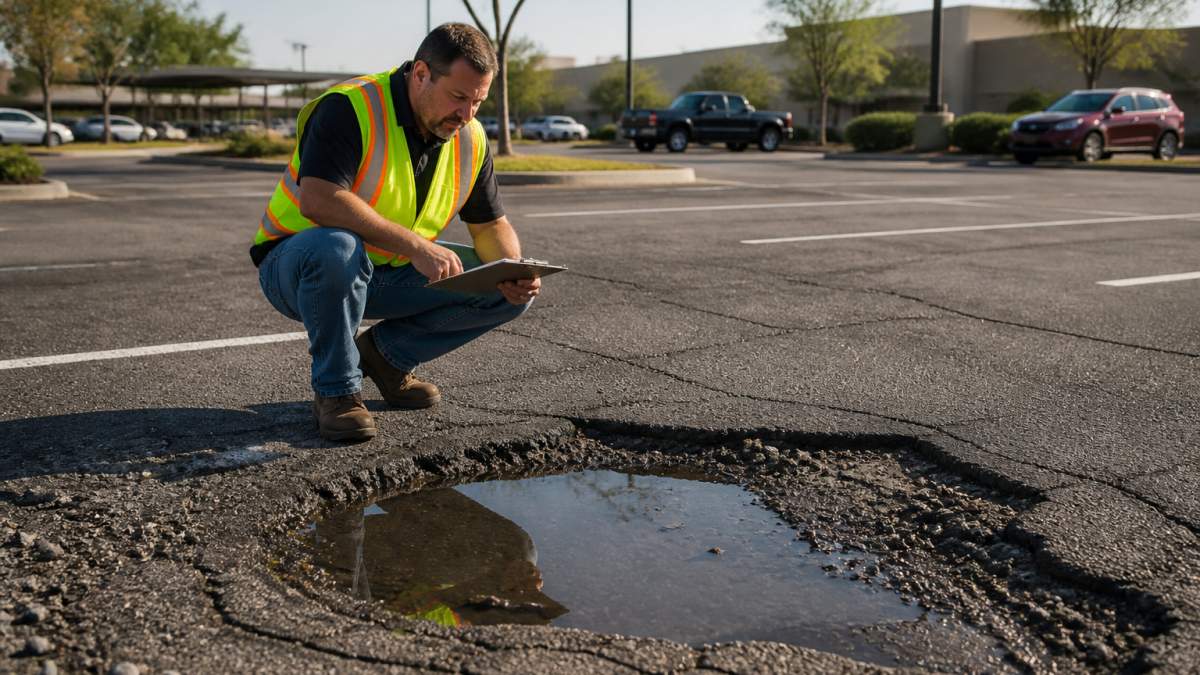
Standing water is a red flag. Any area holding water after rain signals a drainage failure that will create potholes within months under heavy traffic.
Step 2: Select Heavy-Duty Asphalt Pavement for Parking Lots
Not all asphalt is equal. Heavy-traffic lots demand premium materials and proper design.
Standard asphalt works fine for light-duty residential streets. Heavy-traffic parking lots need different specifications. The load-bearing capacity must match your actual vehicle weights and traffic patterns.
Material composition and load-bearing capacity
Heavy-duty asphalt for parking lots uses:
- Larger aggregate size (coarser stone) for better load distribution
- Higher bitumen content for flexibility and durability
- Proper compaction during installation to achieve maximum density
- Thicker surface course (the top layer) to absorb impact from heavy vehicles
The sub-base beneath matters equally. A properly prepared subgrade with adequate compaction prevents settlement and rutting. Cheap construction skips these steps. Quality construction doesn’t.
Why aggregate quality matters under heavy traffic
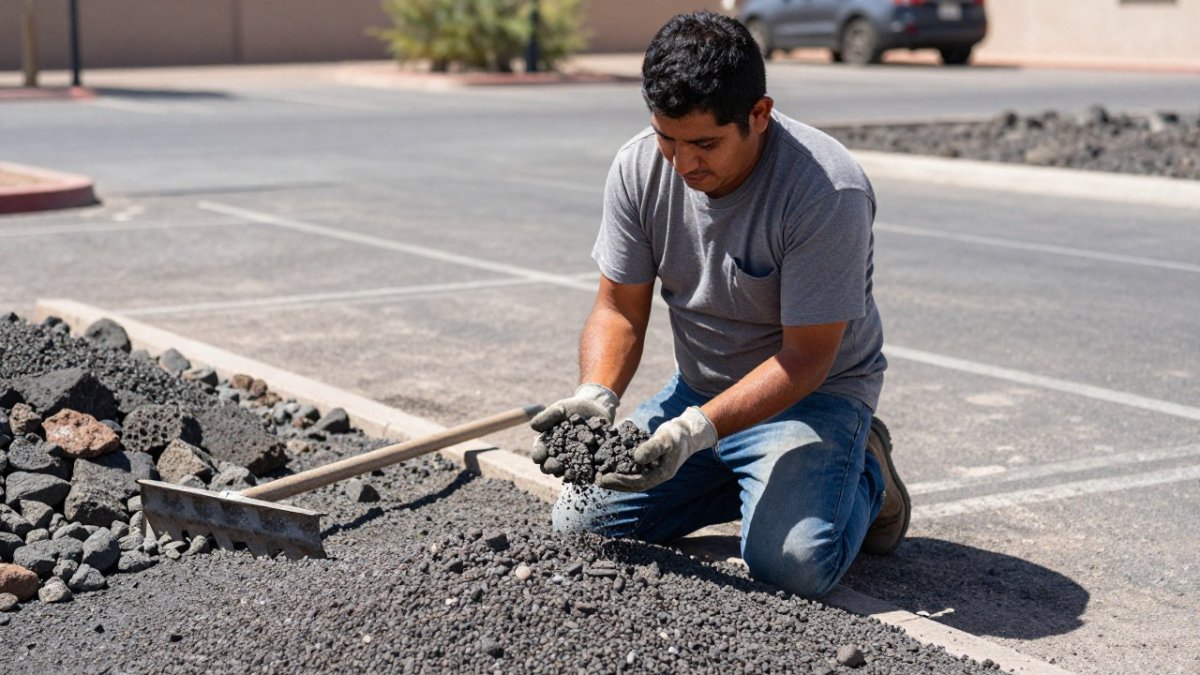
Aggregate is the stone in asphalt. Poor-quality aggregate fractures under load, creating voids that water exploits. High-quality aggregate resists compression and maintains structural integrity year after year.
When selecting materials for a heavy-traffic lot, specify:
- Crushed stone (not rounded gravel)
- Consistent size gradation
- Low dust content
- Proven performance in similar applications
This is where corners get cut. Inferior aggregate costs less upfront but fails faster. You’ll pay for it in repairs.
Cheap asphalt with poor aggregate will fail in 3-5 years under heavy traffic. Premium materials cost more initially but last 10-15 years. Calculate the lifecycle cost, not just the upfront price.
Step 3: Perform Routine Pavement Inspections Using an Asphalt Pavement Inspection Checklist
Routine inspection catches problems early. Early intervention prevents catastrophic failure.
Most facility managers wait until potholes appear to inspect pavement. By then, damage runs deep. A structured inspection program catches rutting, cracking, and drainage issues before they become expensive problems.
What to look for: rutting, alligator cracking, and surface oxidation
Rutting: Visible depressions in wheel paths where heavy vehicles repeatedly travel. Early rutting is minor.
Alligator cracking: A pattern of interconnected cracks resembling alligator skin. This signals structural failure beneath the surface.
Surface oxidation: Fading, chalking, or a dull gray appearance instead of black.
Edge cracking: Cracks running parallel to the perimeter.
Inspection frequency for heavy-traffic areas
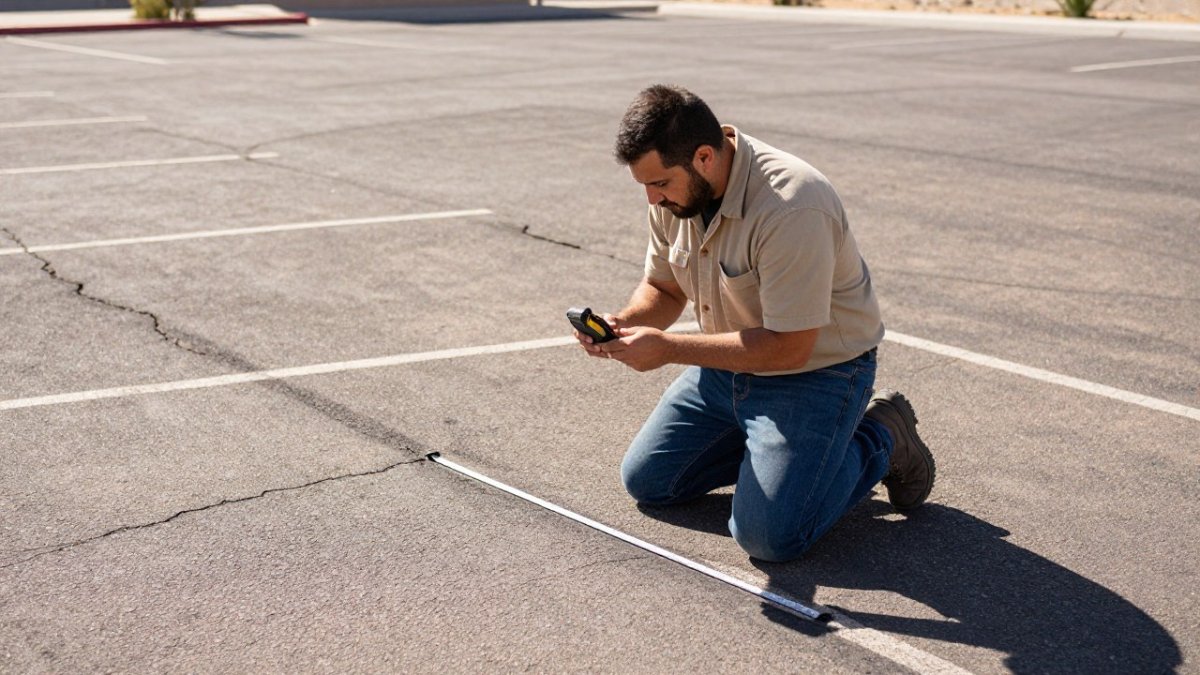
Inspect heavy-traffic lots every three months. Document findings with photos and notes. Track changes over time.
A simple checklist:
- Measure rut depth in wheel paths (use a straightedge and ruler)
- Count and map pothole locations
- Photograph alligator cracking patterns
- Check drainage around lot perimeter
This takes two hours quarterly. It prevents thousands in unexpected repairs.
Step 4: Implement a Commercial Asphalt Maintenance Schedule
Maintenance prevents failure. A schedule ensures consistency.
Reactive maintenance (fixing problems as they appear) always costs more than preventative maintenance (stopping problems before they start). A structured schedule keeps your lot in good condition and budgets predictably.
Seasonal maintenance and freeze-thaw cycle protection
Freeze-thaw cycles are brutal on asphalt. Water enters cracks, freezes, expands, and shatters the pavement. Winter preparation is critical.
Fall maintenance (before freeze-thaw season):
- Seal all visible cracks before winter
- Clear debris from drains
- Inspect and repair drainage systems
- Apply sealcoat if due
Spring maintenance (after freeze-thaw season):
- Inspect for new cracks and potholes created by winter
- Repair frost heave and settling
- Regrade low spots that trap water
- Plan summer repairs
Summer maintenance (peak traffic season):
- Monitor for rutting and surface distress
- Repair potholes promptly
- Check drainage after heavy rains
- Plan fall sealcoating
Winter maintenance (if applicable):
- Remove snow and ice promptly (salt accelerates deterioration)
- Avoid using harsh de-icers
- Monitor for new cracks
Sealcoating and crack sealing intervals
Crack sealing: Every 12-18 months, or as cracks appear. Small cracks cost $5-15 per linear foot to seal. Ignored cracks become potholes costing $100-300+ to repair.
Sealcoating: Every 2-3 years for heavy-traffic lots. Sealcoat protects the surface from oxidation, water infiltration, and UV damage. It extends pavement life significantly.
Crack sealing every 18 months prevents water infiltration. Sealcoating every 2-3 years protects against surface oxidation. Together, these cost far less than pothole repairs or resurfacing.
Step 5: Apply Sealcoating and Crack Sealing Before Problems Develop
Timing matters. Apply sealcoat and crack sealing before distress becomes visible.
Sealcoating is preventative, not corrective. It works on relatively sound pavement.
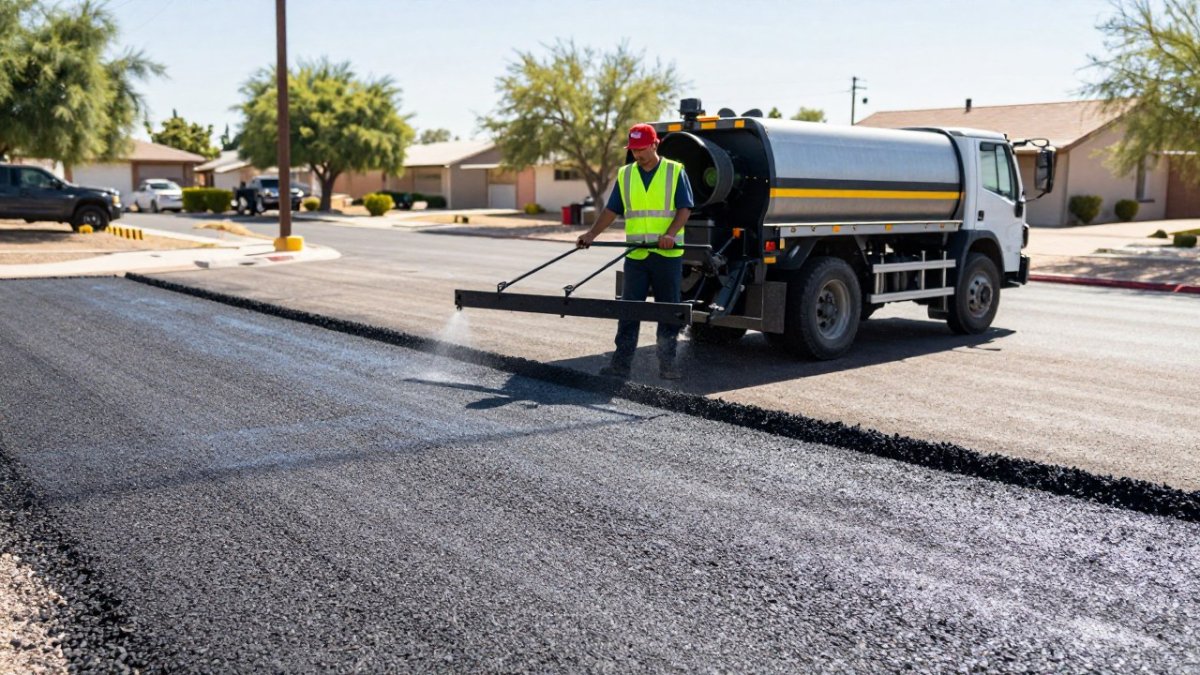
The application process:
- Clean the surface thoroughly (remove dirt, debris, oil stains)
- Fill all visible cracks with crack sealant
- Allow sealant to cure (typically 24-48 hours)
- Apply sealcoat in two thin coats
- Allow full cure before opening to traffic (usually 48-72 hours)
Sealcoating improves appearance and extends pavement life. It’s also cost-effective maintenance that prevents expensive repairs.
For heavy-traffic lots, schedule sealcoating during slower business periods to minimize disruption. We coordinate timing with your operational needs, we understand that downtime costs money.
Step 6: Manage Traffic Load and Compaction
Traffic patterns and load distribution determine how fast pavement fails.
Concentrated traffic in the same paths creates rutting. Distributed traffic spreads wear evenly. Managing traffic flow extends pavement life.
Load-bearing capacity calculations for distribution centers
Distribution centers with daily heavy-truck traffic need pavement designed for those loads. A standard parking lot designed for passenger cars will fail under loaded semi-trucks.
Proper design considers:
- Axle load: Weight per axle (typically 18,000-20,000 lbs per axle on loaded trucks)
- Traffic volume: Number of vehicle passes per day
- Repetition factor: How many times the same wheel path is loaded
- Pavement thickness: Must be adequate for expected loads
This isn’t guesswork. Engineering standards exist for this. Cheap contractors skip this analysis. Quality contractors design pavement for your actual traffic.
Rutting prevention through traffic pattern analysis
Rutting happens when traffic concentrates in narrow paths. Prevention strategies:
- Stripe and mark clear traffic lanes to distribute vehicles across the full width
- Use directional signage to prevent shortcutting and irregular paths
- Widen heavy-traffic corridors where possible to spread loads
- Rotate parking areas seasonally to avoid permanent ruts in one section
These are low-cost interventions that extend pavement life significantly.
| Strategy | Effort | Cost | Lifespan Impact |
|---|---|---|---|
| Traffic striping | Low | $500-1,500 | Extends 2-3 years |
| Load distribution | Medium | $2,000-5,000 | Extends 3-5 years |
| Seasonal rotation | Low | $200-500 | Extends 1-2 years |
| Speed enforcement | Low | $0-1,000 | Extends 1-2 years |
Step 7: Choose Quality Construction and Materials from the Start
The foundation determines everything. Cut corners at installation, and you’ll pay for it in repairs.
Quality construction means proper subgrade and sub-base preparation. It means adequate compaction. It means using specified materials, not cheaper substitutes. It means experienced crews who understand asphalt installation.
Subgrade and sub-base preparation for infrastructure longevity
The subgrade is the soil beneath the pavement. Poor subgrade preparation causes settlement, rutting, and early failure.
Proper subgrade preparation includes:
- Excavation to proper depth (typically 12-18 inches for heavy-traffic lots)
- Removal of unsuitable material (soft soil, clay, debris)
- Compaction to 95%+ of maximum density (verified by testing)
- Grading for proper drainage (no low spots that trap water)
The sub-base is the stone layer above the subgrade. It distributes loads and provides drainage.
Proper sub-base includes:
- 4-6 inches of compacted crushed stone (size and type specified for your soil and traffic)
- Compaction to 95%+ density (verified by testing)
- Proper grading for drainage
These steps cost more upfront. They prevent failure. Cheap construction skips compaction testing and uses minimal stone thickness. You’ll see failure in 3-5 years.
Lifecycle Cost Analysis (LCCA) versus cheap repairs
Lifecycle Cost Analysis compares the total cost of ownership over time, not just upfront price.
Scenario A: Cheap construction ($3/sq ft)
- Year 0: $30,000 for 10,000 sq ft
- Year 3: First pothole repairs ($5,000)
- Year 5: Extensive patching ($15,000)
- Year 7: Full overlay required ($60,000)
Scenario B: Quality construction ($5/sq ft)
- Year 0: $50,000 for 10,000 sq ft
- Year 4: Crack sealing and sealcoat ($8,000)
- Year 8: Crack sealing and sealcoat ($8,000)
- Year 12: Still functional, minimal maintenance
Quality construction costs less over time. It’s not close.
When evaluating contractors, ask about their subgrade and sub-base process. Ask for compaction test results. Ask about material specifications. Contractors who skip these details are cutting corners.
Cheap construction fails early. Quality construction lasts. Calculate the 10-year cost, not the year-one cost. You’ll choose quality every time.
Protecting Your Investment
The contractors who deliver results understand this. They design for your actual conditions. They use specified materials.
Global Paving has over two decades of experience. We design pavement for your specific traffic loads and conditions.
If your lot is showing signs of distress, rutting, cracking, pothole formation, contact us for an inspection.
Frequently Asked Questions
What causes potholes in parking lots with heavy traffic?
Potholes form when water infiltrates beneath the asphalt surface through cracks and weak spots. Freeze-thaw cycles expand this moisture, weakening the sub-base. Heavy traffic then breaks apart the damaged pavement, creating holes. Without proper drainage and preventative maintenance, the cycle accelerates. Rutting from concentrated truck traffic also compromises structural integrity, making those areas vulnerable to pothole formation.
How often should a commercial parking lot have a routine inspection?
Heavy-traffic lots should be inspected at least quarterly, with additional checks after winter or severe weather. Monthly visual inspections by staff can catch early signs of distress like small cracks or surface oxidation before they become potholes. Use an asphalt pavement inspection checklist to document rutting, alligator cracking, and drainage problems. Frequent inspections let you catch issues early, when sealcoating or crack sealing costs far less than pothole remediation.
Does sealcoating actually prevent potholes?
Sealcoating slows surface oxidation and blocks moisture infiltration, which are the root causes of pothole formation. It extends pavement life by 3-5 years when applied every 2-3 years as part of a commercial asphalt maintenance schedule. However, sealcoating alone won’t prevent potholes if drainage is poor or the sub-base is compromised. It works best combined with crack sealing, proper drainage, and regular inspections, not as a standalone solution.
What’s the difference between preventative maintenance and pothole repair?
Preventative maintenance (sealcoating, crack sealing, drainage upkeep) stops damage before it starts and costs a fraction of repairs. Pothole remediation is reactive and expensive, you’re rebuilding failed sections and losing business during downtime. A lifecycle cost analysis shows that spending on preventative maintenance now saves 3-4 times that amount in repair costs over 10-15 years. Heavy-traffic lots especially benefit from this approach, since each pothole disrupts deliveries and creates liability.